Trailer wiring is exposed to vibration, water, dirt, road salt, and physical damage. Over time, trailer lights may stop working because of wiring failure, corrosion, or poor grounding.
Common Trailer Wiring Problems
Typical trailer wiring issues include:
- No trailer lights
- One side not working
- Brake lights not working
- Turn signals reversed
- Running lights not working
- Weak or flickering lights
- Repeated fuse failure
Step 1: Inspect the Trailer Plug
Start with the trailer connector. Look for corrosion, loose pins, bent terminals, or dirt. Many trailer lighting issues begin at the plug.
Step 2: Test Vehicle Output
Use a circuit tester to confirm the tow vehicle socket is sending power for each function.
Test:
- Tail lights
- Left turn signal
- Right turn signal
- Brake lights
- Ground
Step 3: Check the Ground Wire
A bad ground can cause several lights to fail at the same time. Clean the grounding point and make sure the wire is tightly attached to bare metal.
Step 4: Inspect the Wiring Harness
Follow the trailer wiring harness along the trailer frame. Look for damaged insulation, broken wires, loose clips, and crushed areas.
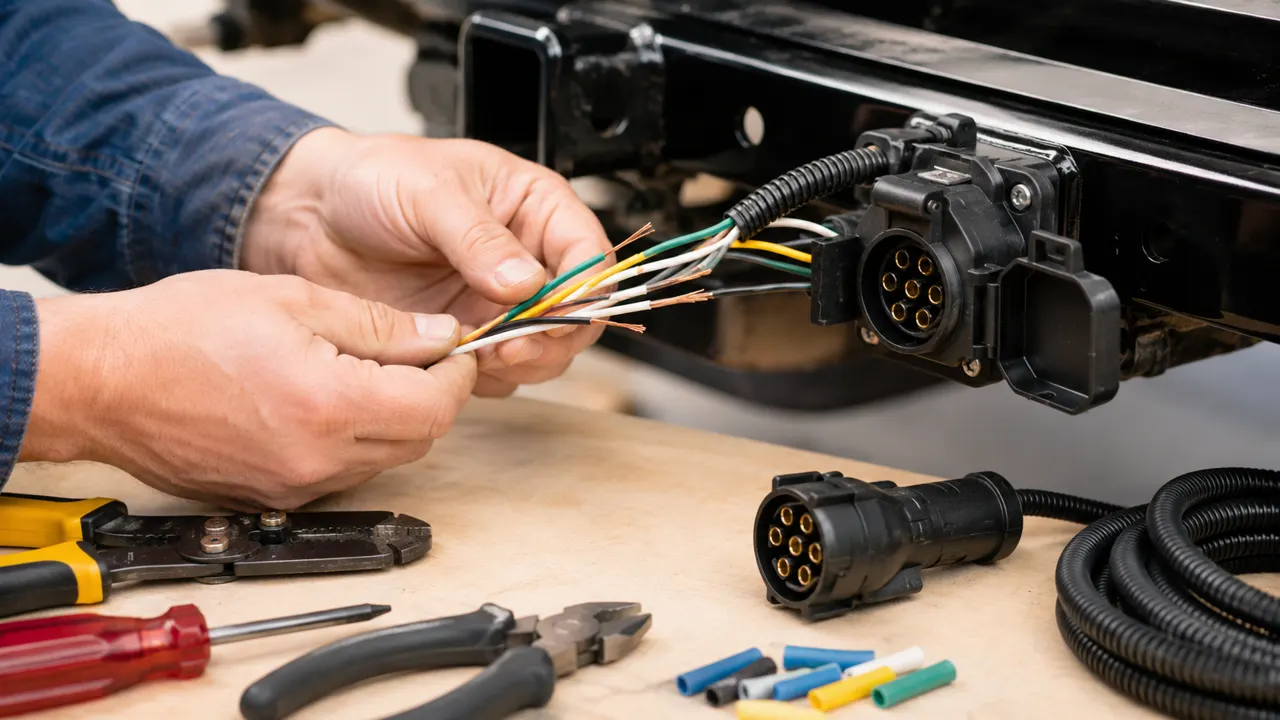
Step 5: Repair Damaged Wires
Cut out damaged sections and strip the wire ends. Use heat shrink butt connectors for a waterproof and durable repair.
Avoid twisting wires together without proper connectors.
Step 6: Protect the Wiring
After repair, secure the wiring away from sharp edges, moving parts, and heat sources. Use cable ties, loom tubing, and proper routing.
Conclusion
A proper trailer wiring repair requires accurate testing, clean connections, and durable waterproof connectors. This improves safety and reduces repeated lighting failures.
AutoVoltCore provides trailer wiring repair kits, heat shrink connectors, circuit testers, fuse kits, and electrical accessories for automotive distributors and repair professionals.