RV electrical systems rely heavily on 12V power for lighting, water pumps, fans, control panels, refrigerators, accessories, and battery-powered devices. Regular maintenance helps prevent failures during travel or camping.
RV 12V Maintenance Checklist
1. Check Battery Condition
Inspect battery terminals for corrosion, looseness, or damage. Confirm that the battery is properly charged and securely mounted.
2. Inspect Battery Cables
Look for cracked insulation, loose terminals, overheated cables, or damaged connectors.
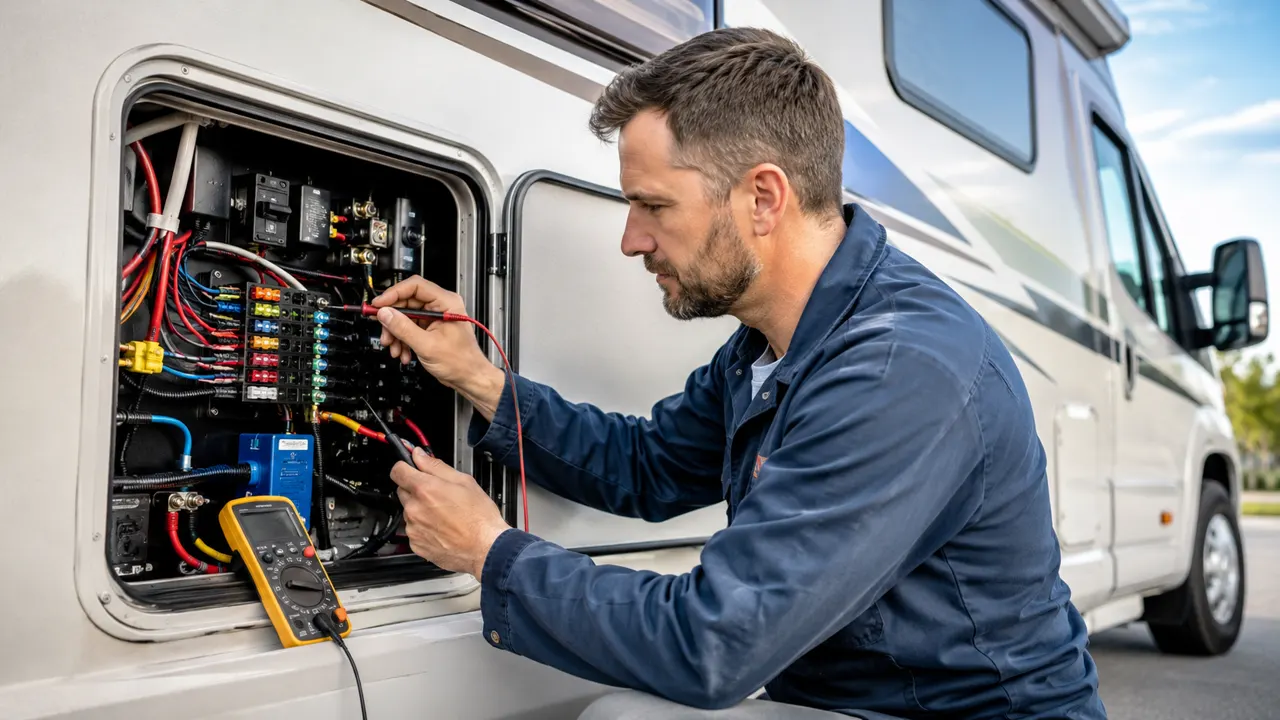
3. Test Fuses
Use a circuit tester to check important RV fuse circuits. Replace blown fuses with the same amp rating only.
4. Check Ground Connections
Poor grounding can cause flickering lights, weak fans, pump issues, or intermittent accessory failure. Clean and tighten ground points.
5. Inspect 12V Lights
Check interior lights, exterior marker lights, brake lights, and trailer connection lights.
6. Test Water Pump and Fans
Confirm that the water pump, ventilation fans, and 12V accessories operate normally.
7. Inspect Wiring
Look for loose wires, rodent damage, vibration wear, and exposed copper.
8. Check Connectors
Replace corroded or loose connectors. Heat shrink connectors are recommended for areas exposed to moisture.
9. Test Charging System
Verify that the RV battery charges correctly from the converter, solar system, or tow vehicle connection.
10. Keep Repair Tools Onboard
Useful tools include a circuit tester, fuse kit, wire connectors, crimping tool, electrical tape, and spare terminals.
Conclusion
Routine RV 12V electrical maintenance reduces roadside problems and improves safety. For RV service shops, distributors, and accessory sellers, 12V electrical repair products are essential high-demand items.
AutoVoltCore supplies RV electrical repair kits, circuit testers, fuse kits, heat shrink connectors, and battery accessories for professional and wholesale customers.