A dash cam hardwire kit allows a dash camera to connect directly to the vehicle fuse box instead of using the cigarette lighter socket. This creates a cleaner installation and enables parking mode if the dash cam supports it.
What Is a Dash Cam Hardwire Kit?
A dash cam hardwire kit usually includes:
- Power cable
- ACC wire
- Constant power wire
- Ground wire
- Fuse taps
- Voltage protection module
- Connectors
The kit supplies stable 12V or converted 5V power to the dash camera.
Step 1: Choose Power Mode
Most dash cam hardwire kits use two power inputs:
- ACC power: turns on when the vehicle starts
- Constant power: supports parking recording
If parking mode is not needed, ACC power may be enough.
Step 2: Locate the Fuse Box
Find the interior fuse box. It is usually located under the dashboard, near the driver side, or behind a side panel.
Step 3: Test Fuse Slots
Use a circuit tester to identify one ACC fuse slot and one constant power fuse slot.
Avoid safety-critical circuits such as airbags, ABS, ECU, and transmission systems.
Step 4: Install Fuse Taps
Insert the original vehicle fuse and the new accessory fuse into the fuse tap. Plug the fuse tap into the selected fuse slot.
Use the correct fuse type: Micro2, Mini, Low Profile Mini, or ATO/ATC.
Step 5: Connect the Ground Wire
Attach the ground wire to a clean metal bolt connected to the vehicle chassis. Remove paint or dirt if needed for better contact.
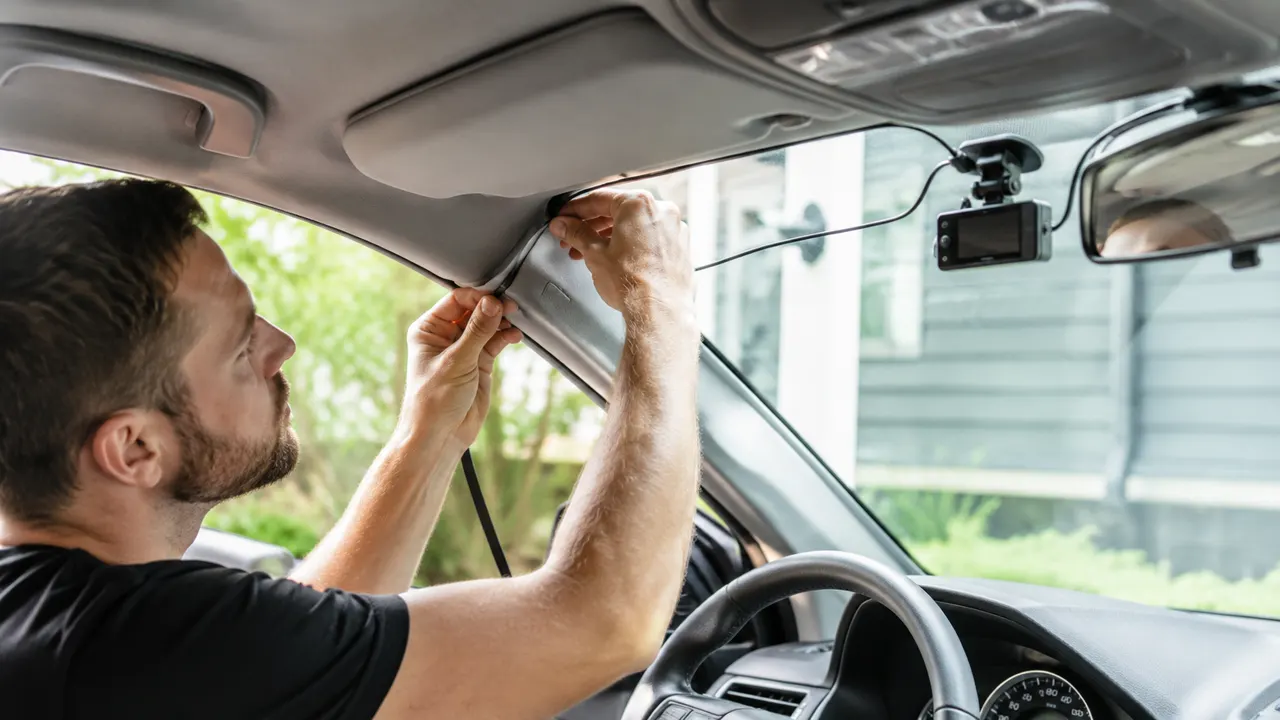
Step 6: Route the Cable
Hide the cable along the headliner, A-pillar, and dashboard trim. Avoid interfering with airbags.
Step 7: Test the Dash Cam
Start the vehicle and confirm that the dash cam powers on. Turn off the vehicle and check parking mode if supported.
Conclusion
A dash cam hardwire kit provides a clean, stable, and professional installation. It is widely used by dash cam installers, automotive accessory shops, fleet operators, and online sellers.
AutoVoltCore supplies dash cam hardwire kits, fuse taps, circuit testers, and automotive electrical installation accessories for B2B customers.